You know the saying ‘a picture is worth a thousand words’?
Well when it comes to teaching and learning we think it’s true!
Visual cues can help students retrieve and remember information. Images can also help explain or highlight a learning topic in a simple way.
Plus, images can be used to make your Moodle course look better, helping to engage your students more.
So how do you include images, a simple but important feature, to your Moodle course?
Let’s find out in this Feature Friday!
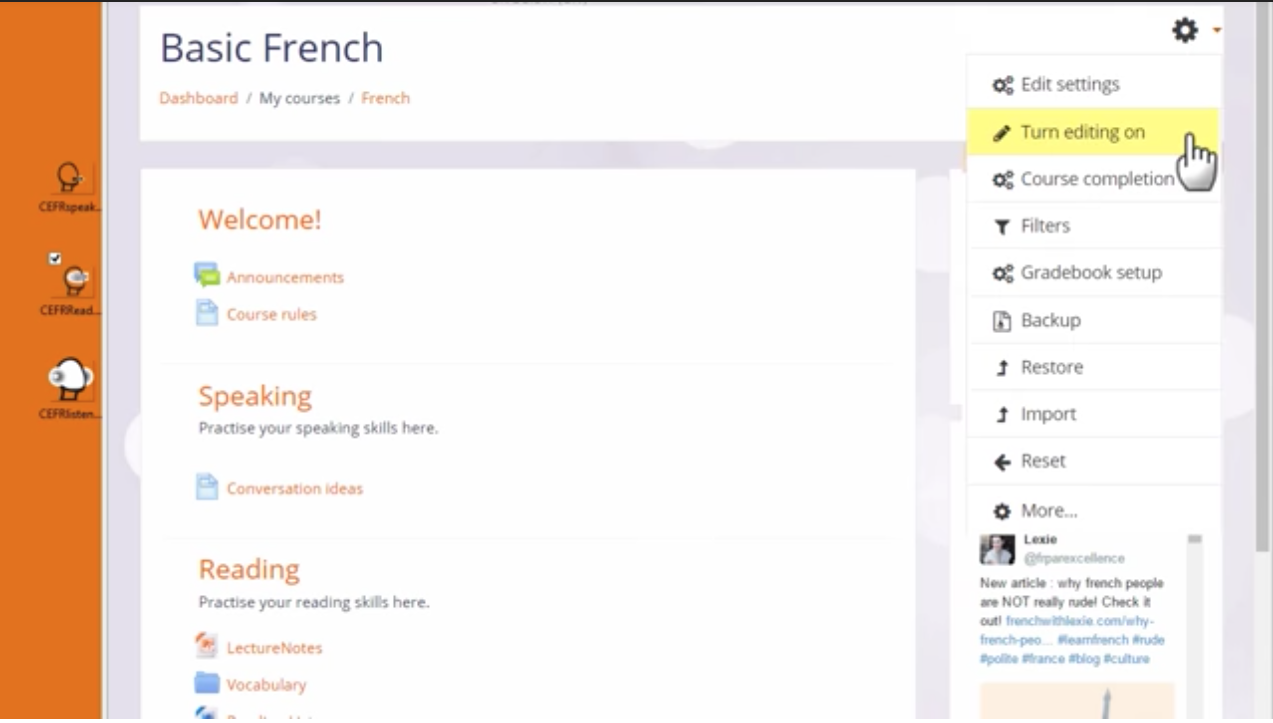
There are three ways to add images to your Moodle course. They all need to have the editing turned on from the gear menu in the top right hand side of your screen.
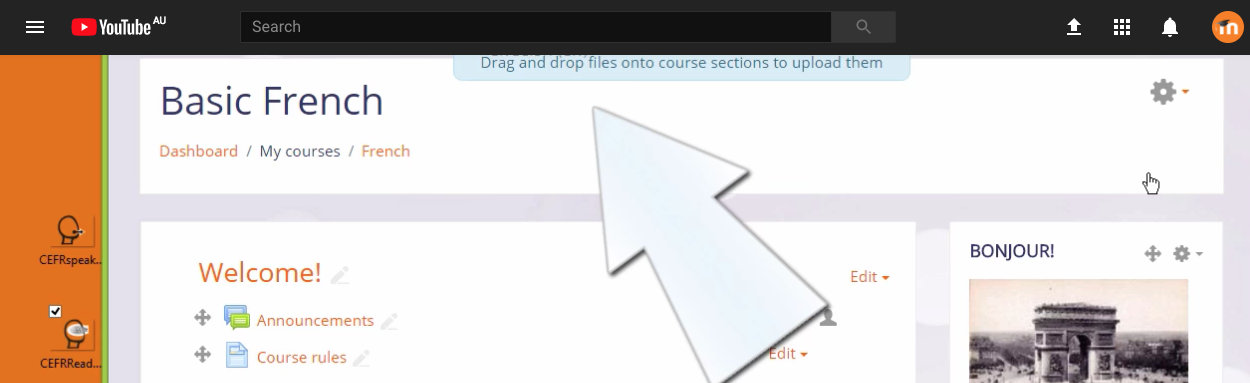
Drag and drop method
If you then see a message at the top of your course page saying ‘drag and drop files onto course sections to upload them’, you can use this method.
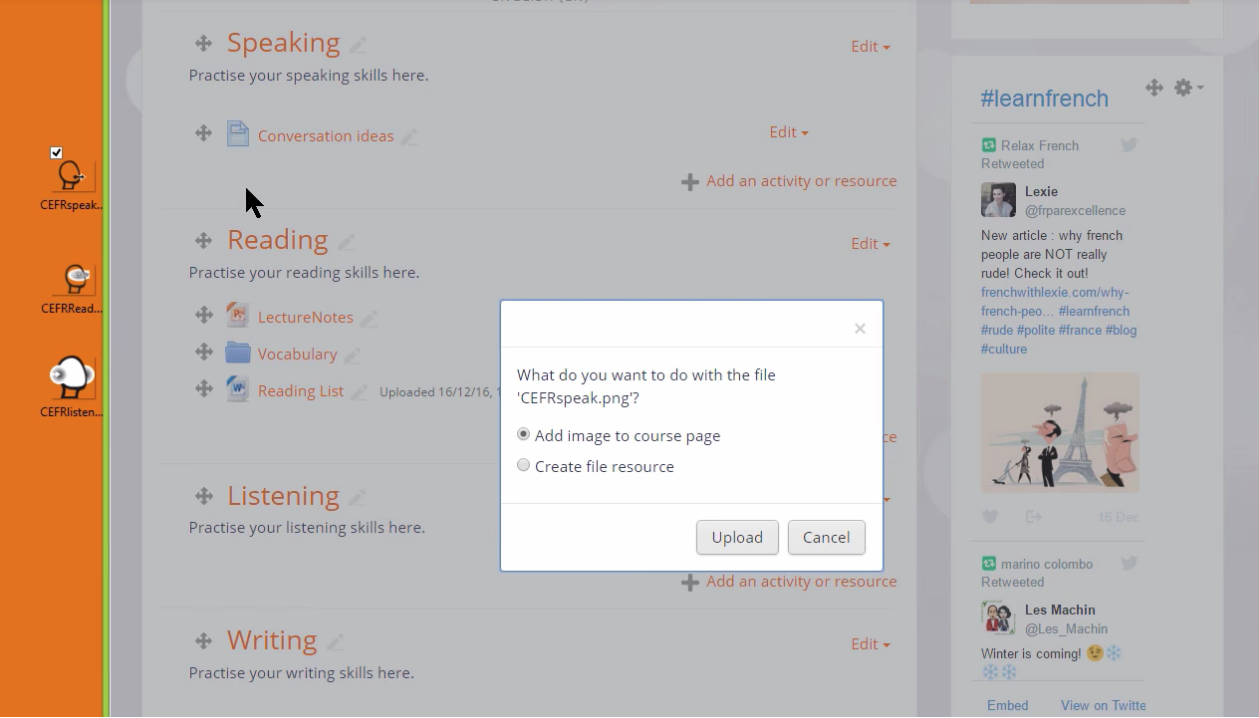
When you drag your image into the section of your choice, a text box will appear asking what you want to do with the file. Select ‘add image to course page’ and then click upload.
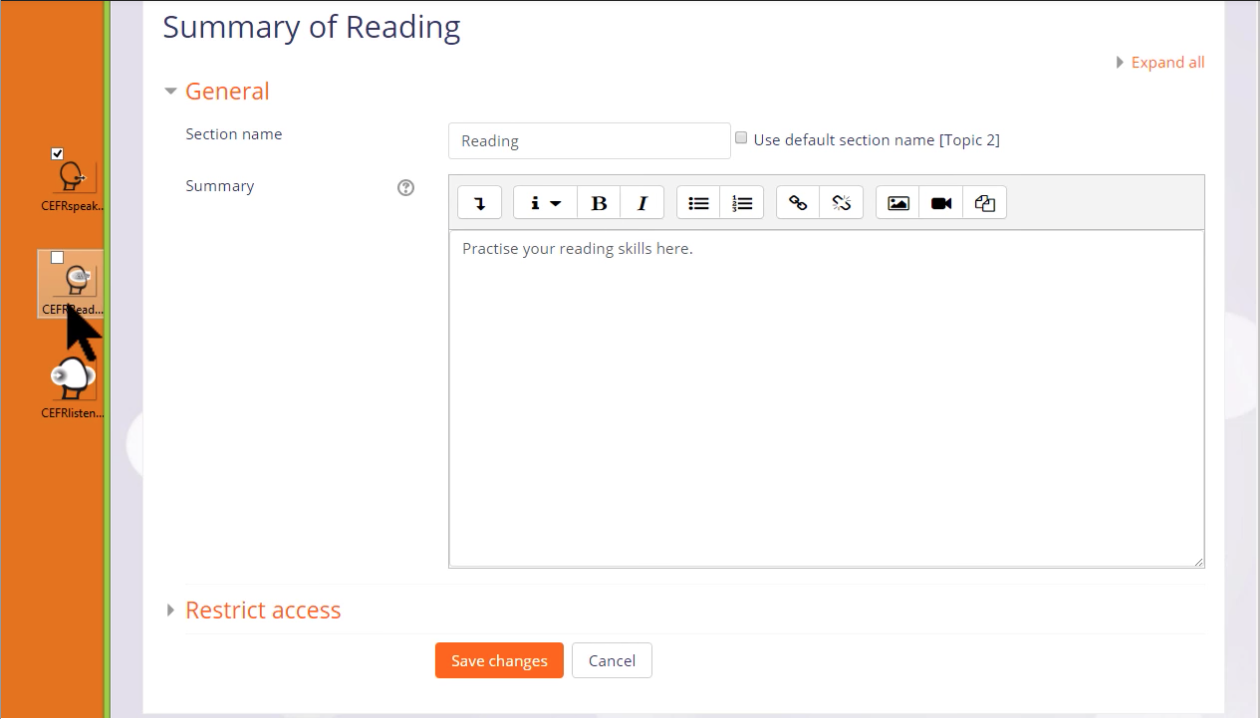
Edit on topic summary method
The second way to add image to your Moodle course is clicking ‘Edit’ on a topic summary or anywhere you see the Atto editor.
This will take you to the text editor. Drag and drop the image and then click ‘Save changes’.
Conventional upload method
If you’re unable to drag and drop an image into your Moodle course, there is a third method which you can use.
First, choose where you would like to add your image to, then click the ‘Edit’ button.
This will take you to the Atto editor. There you will see a toolbar which includes the images icon, cick this.
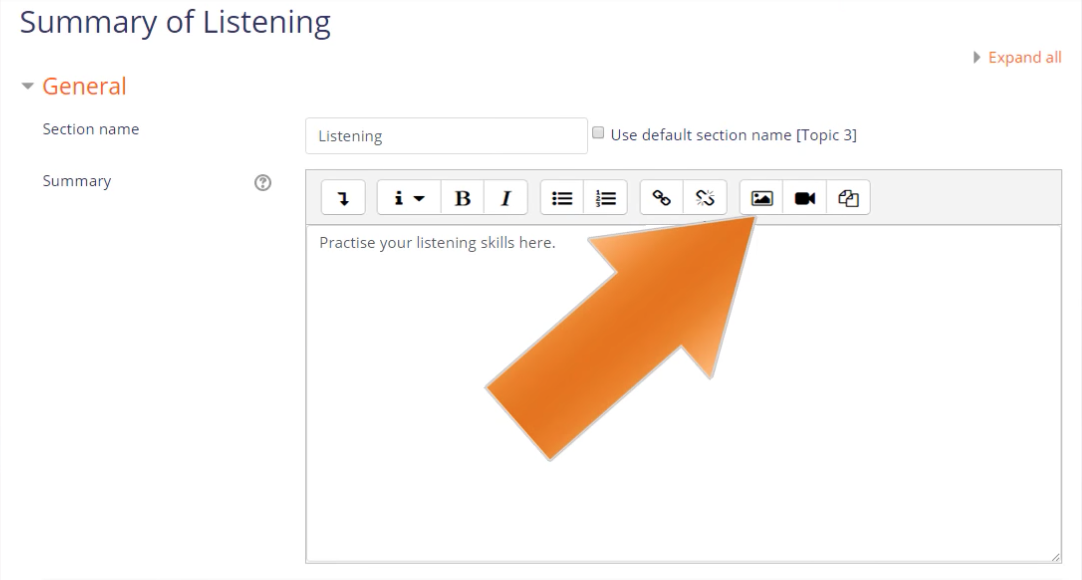
Next the image properties window will pop up on your screen. Use this window to select and then upload your image.
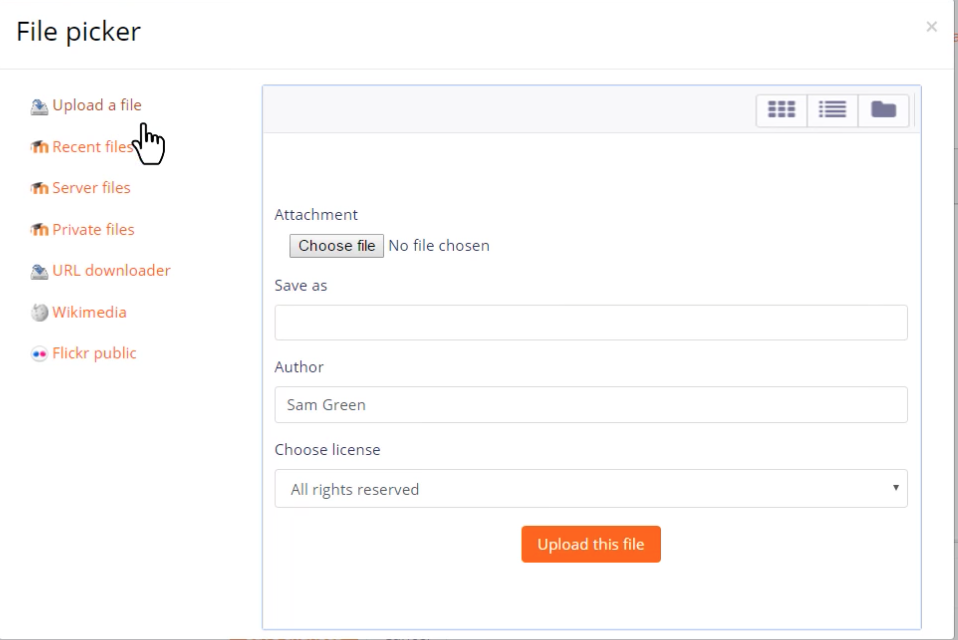
Within this window there is a ‘Browse repositories’ button this will take you to Moodle’s file picker. From there upload your chosen image from your computer.
Congratulations! You now can add images to your Moodle course, but don’t forget our top tips:
- Make sure that you have permission to use any images you add to your Moodle course. This means they must be creative commons, public domain or you have made the image yourself.
- It’s useful to get the correct size image for your course before you upload it.
- For accessibility reasons, give your image a meaningful description
To find out more about adding image to your Moodle course check out the explainer video below.
Or visit Moodle.org to read the documentation.


