HTML block? Unless you’re a confident or enthusiastic coder, this doesn’t sound like something that would appeal to a regular Moodle educator. But you’d be wrong!
The HTML block is one of the most versatile standard blocks in Moodle, and you don’t need to understand any HTML to be able to use it. Need to display a link to your organisation’s help desk? Want to brighten up the course with some relevant images? Want to add a twitter feed? All these and more may be achieved with the HTML block. Even better, you can add several of these blocks to your course page, all with different purposes
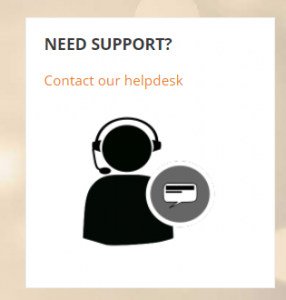
Let’s dive in and set up an HTML block to provide a quick way for learners to access the support desk. Rather than simply presenting a dull link however, let’s connect it to an image so learners can click the image to get in touch with support:
Setting up our HTML block
- Turn on the editing in your course
- Click the Add block link if you’re using the Boost theme, or the Add block dropdown if not) and select HTML
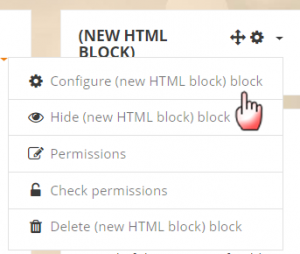
- Click to configure the block:
Adding a link
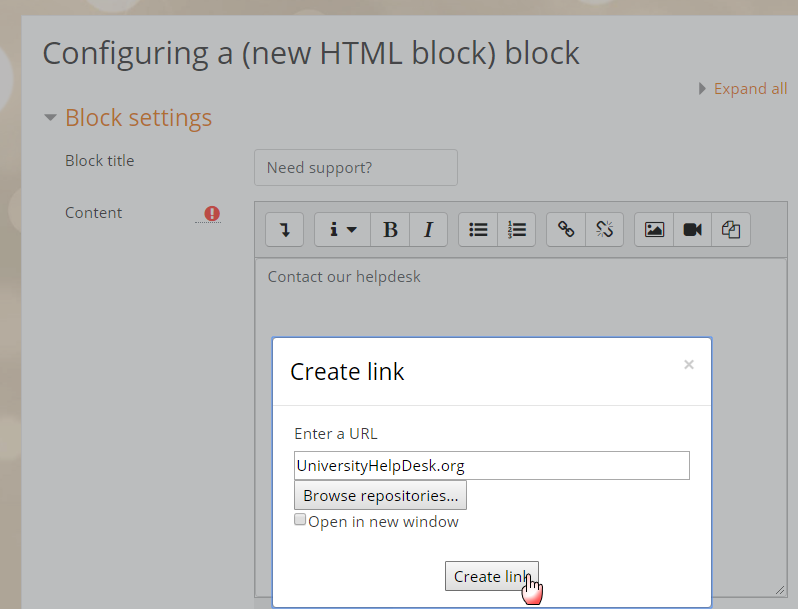
Now we need to make the link to our Helpdesk. We’ll make it twice – once as plain text and then again from the image.
- Type in the text you want to link to the Helpdesk
- Select it
- Click the link/chain icon and type in the URL of your helpdesk.(This can be an email address although be aware it might open differently according to people’s computer setups.)
- Click Create link
Note that the link won’t work until we have saved the block – and we’ve still got some work to do!
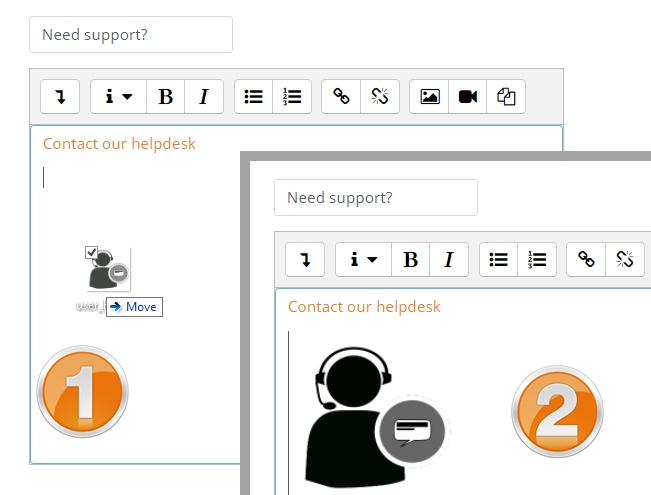
Adding an image
- Locate a suitable small image which you have permission to use.
- If your browser allows it, simply drag and drop the image into the text box, as we have below. (If not, upload it via the image icon in the toolbar)
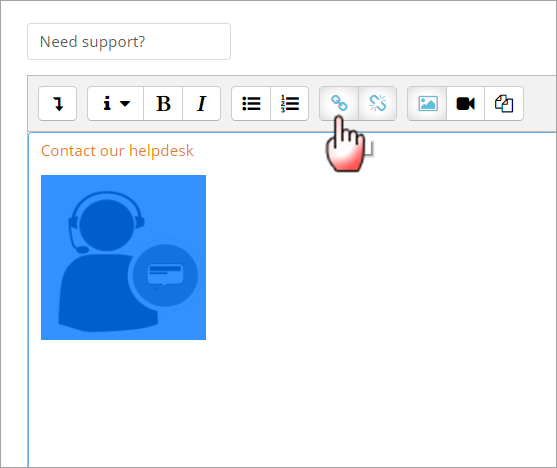
Linking the image
Now we just need to add the link so that course participants can go straight to our helpdesk from the image.
- Click onto the image to select it. It will change colour
- Click the link/chain icon again in the toolbar and once more add your helpdesk link
- Click Create link.
And that’s it! Click to Save changes at the bottom of the HTML block and when you return to your course page, you’ll see the block with a text link and a clickable image link. No excuses now for learners to be lost :)
Want to know more about the HTML block?
Although you don’t need to know any HTML code to use this block, if you are happy to copy and paste code then you can benefit from its versatility in a number of ways: twitter feeds, weather reports, Amazon store links and more! Our HTML block documentation gives you further information, and includes a link to a video tutorial taking you through the process step by step.
So how do you plan to use the HTML block?