MoodleNet, our platform to share and curate open educational resources, has been live for just over a year and the community has added thousands of educational resources in that time.
We’ve had a look at the first year of educational content to give some guidance on having your resource found, engaged with, and then used by others in their teaching and learning.
If you follow this guide when adding your resources, not only will your resources be found more easily, at MoodleNet we will look out for these when selecting resources to be featured on our front page.
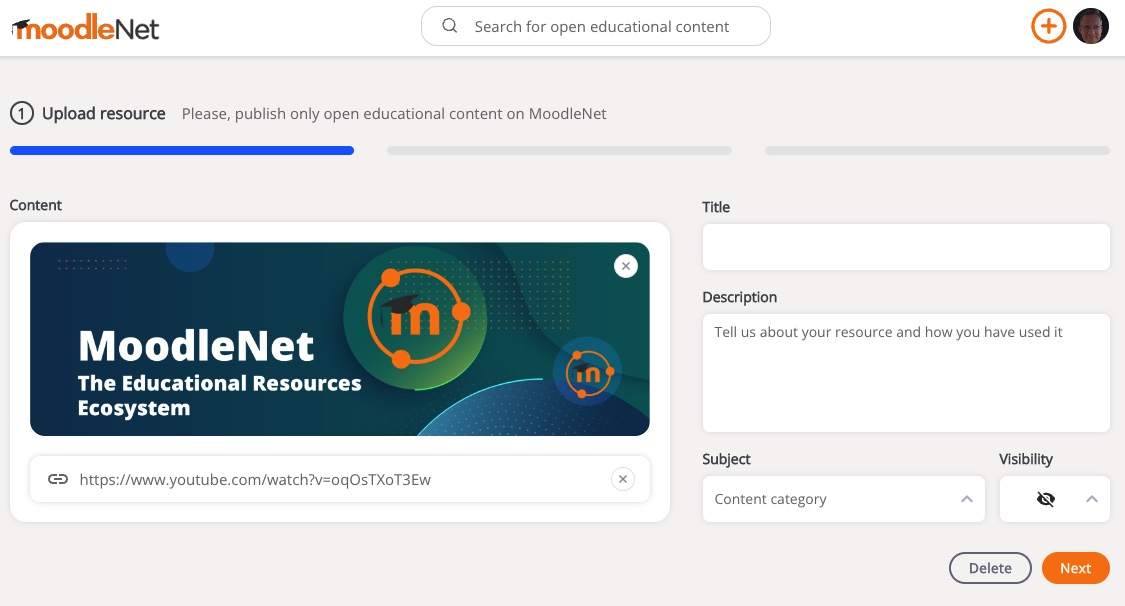
Step 1: Add your thumbnail image
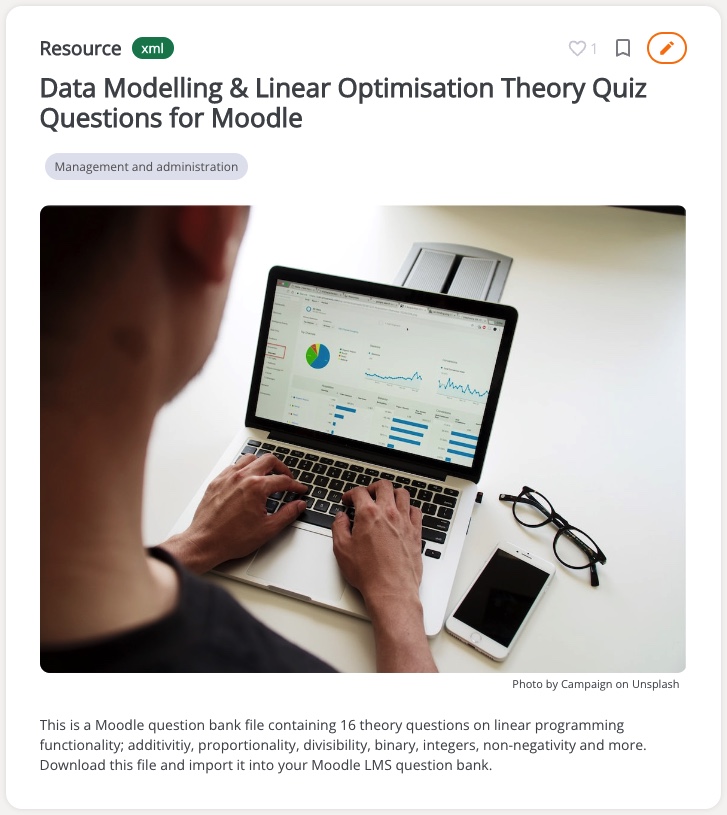
The first item requested when you upload a resource is to upload the actual resource or to add a link. If you prefer to add a link, you can include your own thumbnail. If you decide to add a resource, MoodleNet can extract a thumbnail preview for you. In both cases, this thumbnail should be relevant and attractive as, together with the title, it has the most significant impact on the visual appeal of the resource.
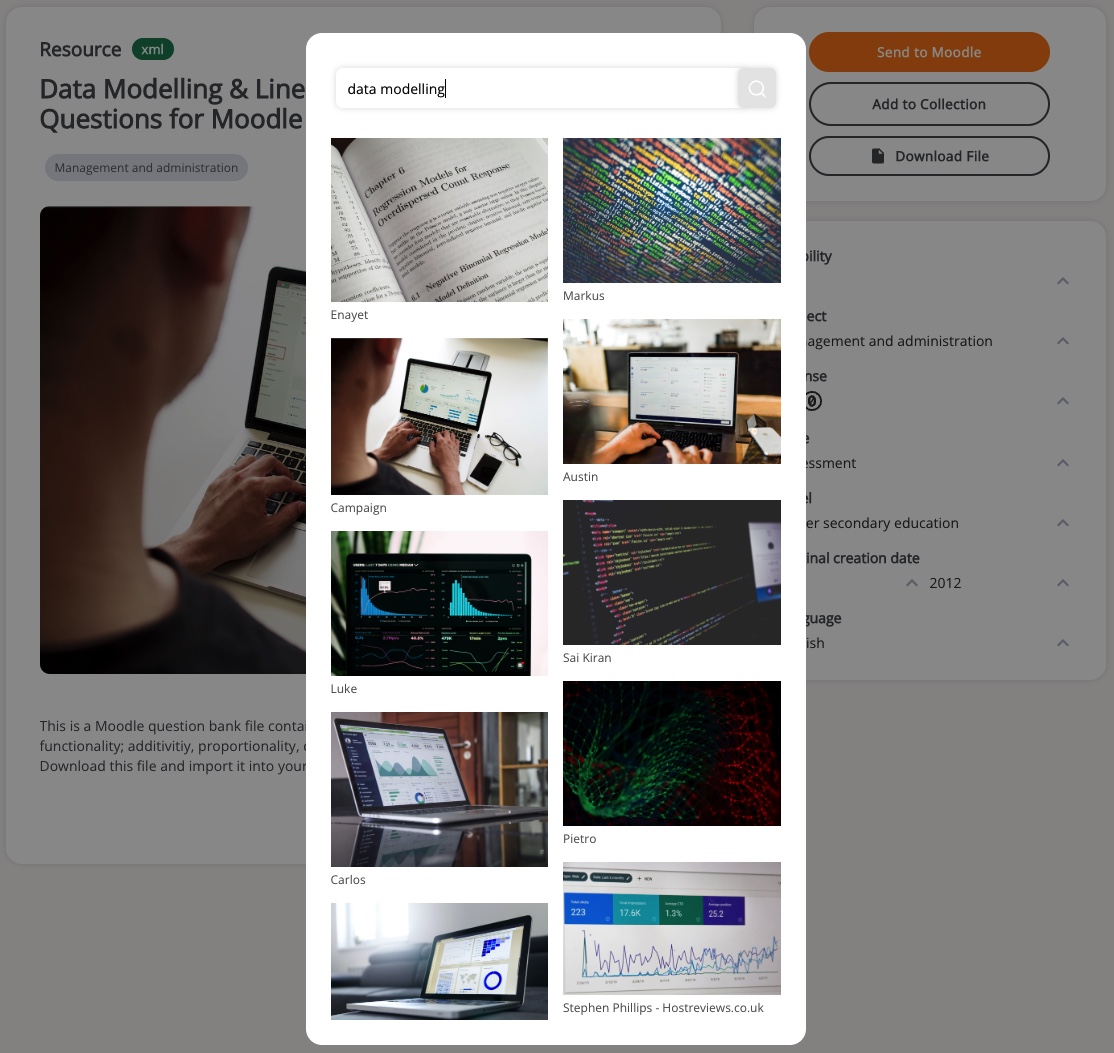
If you struggle with finding a suitable image, we’ve integrated Unsplash as an option to include copyright and royalty free, high quality, and attractive images. You are able to edit the resource after it has been added to access this option:

Step 2: Include your resource title
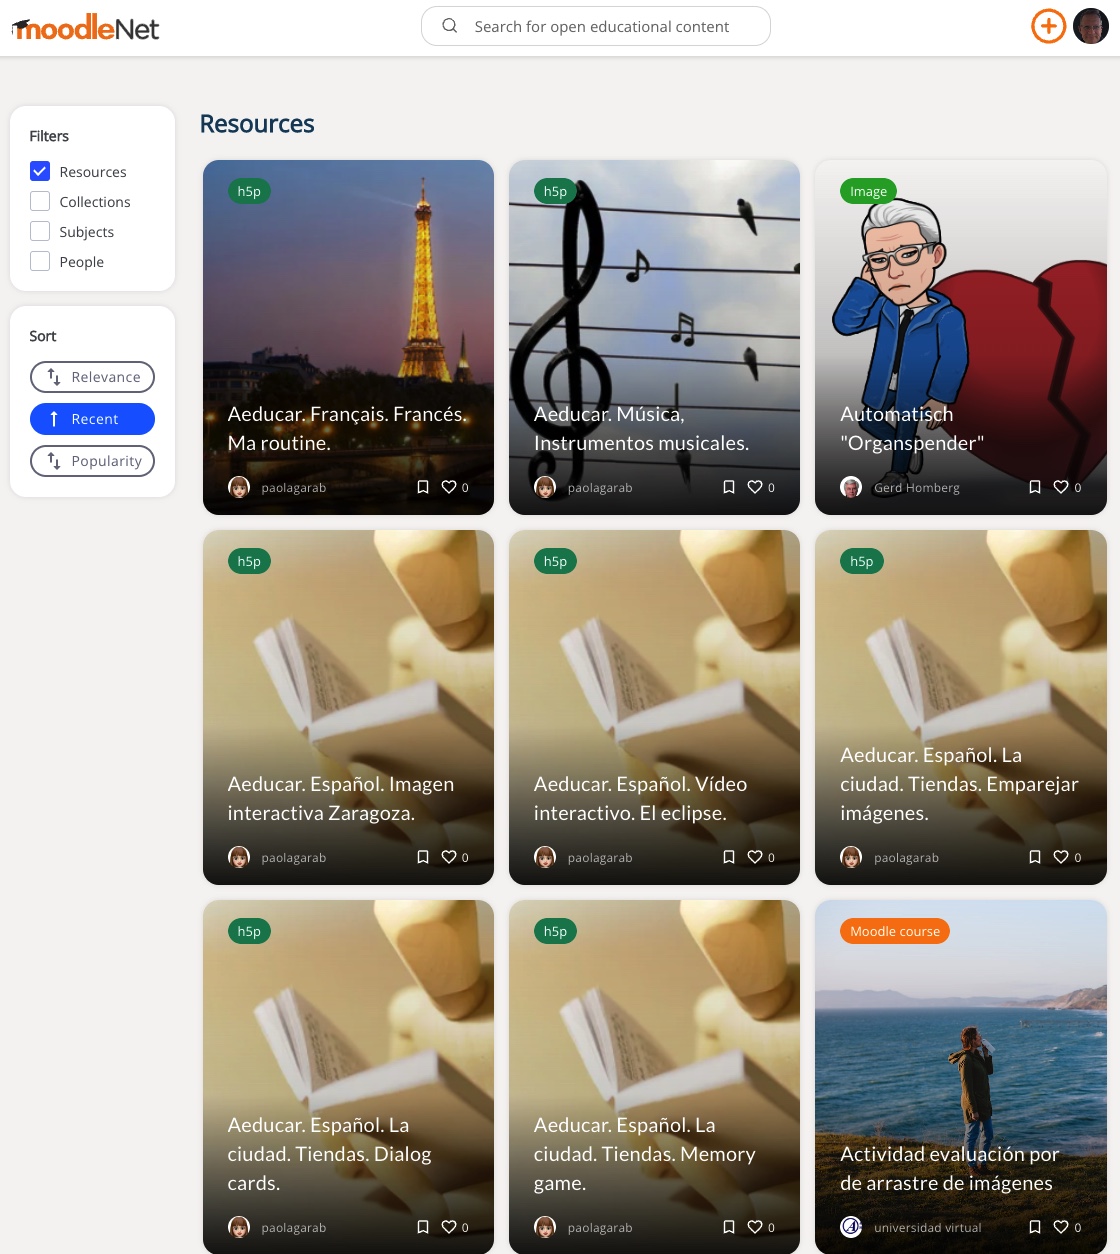
Adding a resource’s title is essential, as MoodleNet uses this to rank the search results according to relevance. It’s also the only text that’s visible on the search results page, so it’s the first thing people see with the thumbnail image:
It’s tempting to add a title that does not describe the resource to save time or if you have a particular use in mind, like “class activity” or “presentation”. However, as the number of resources on MoodleNet grows, it is likely that anyone without a direct link to your resources will never find them.
To prevent this from happening, use a descriptive title in the same language as the resource, such as the title “Moodle for the English Foreign Language Oral Exam” by Eduardo Lina 🔗.
Step 3: Don’t forget the description
The description of the resource is as important as the title for the MoodleNet search routine, so we recommend including key descriptive words that you haven’t included in the title.
The description appears underneath the resource thumbnail image when viewed.
The best practice here is to use resources with a relevant, short description that explains how the resource can be used and any special instructions related to it.
Step 4: Choose your subject
You can choose from a list of subjects, based on ISCED 2011 classifications for your resource. Subjects can be followed by others and your resource will appear in their list of subjects. Ensure the subject you choose is accurate as the subject selection bypasses the need for the search routine to be used to find your resource.
Step 5: Set visibility
Finally, when you are ready for your resource to be made public, don’t forget to ensure that visibility is set to public to allow the search results to list your resource.
Stay tuned for the next part of this blog, where we will explain the process of resource collections.