Moodle Workplace 4 features a freshly redesigned interface, specifically made to be simple and intuitive. Aside from the user interface makeover, Workplace 4 features custom reports that enable users to create advanced reports with a responsive layout effortlessly. This blog will explain more about how to create and schedule these custom reports.
Starting with Custom Reports
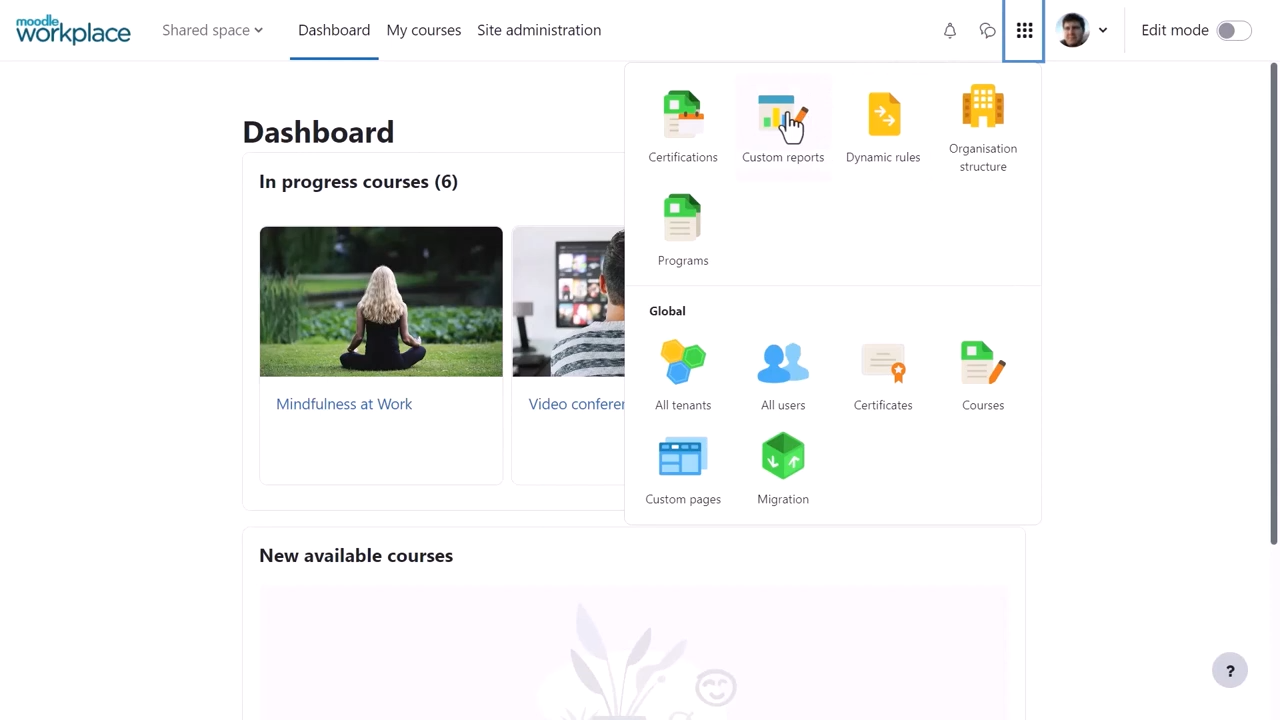
As an administrator, you can access the custom reports option by clicking on the workplace launcher on the top right and clicking on the Custom reports option.
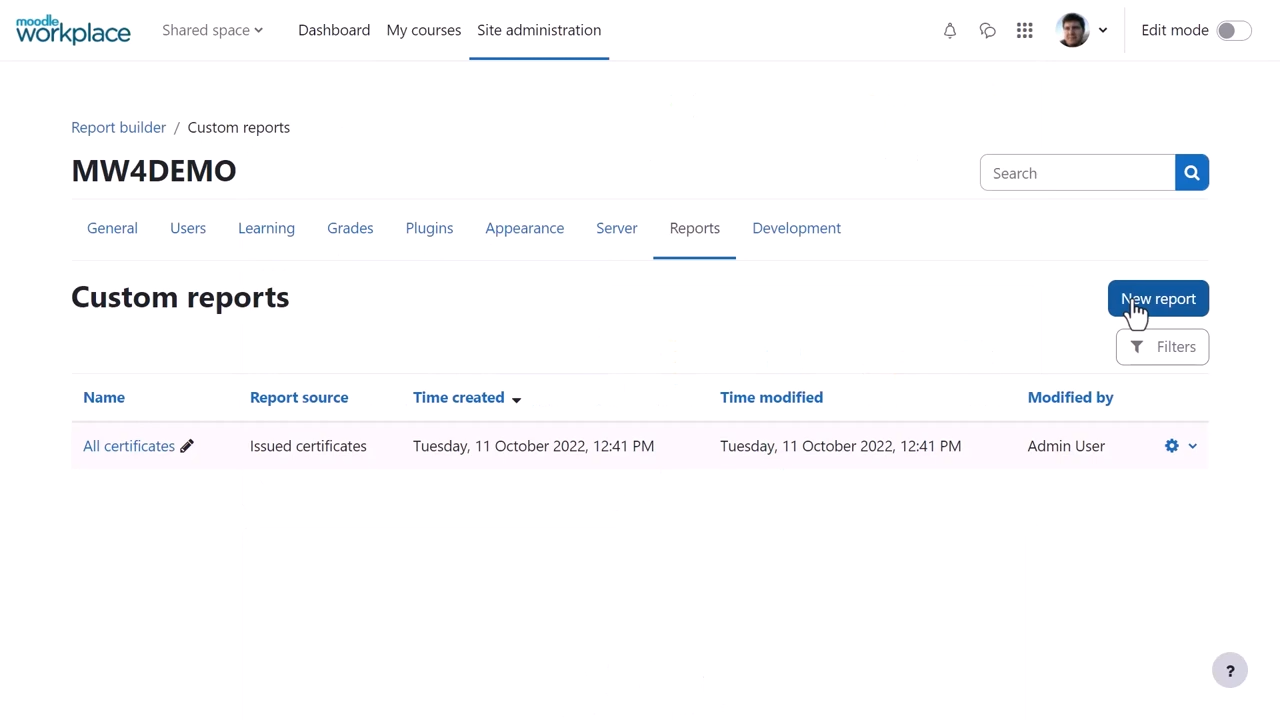
All the existing reports can be viewed on the screen that follows. Clicking the blue New Report button on the right can create a new report.
In the pop-up windows, you can type in the name and select the columns, conditions, and filters available from the report source.
Click Save to proceed.

Setting Columns, Conditions, and Filters
The left panel on the screen shows you the available columns. Click the + sign next to it to add that column to the report.

From the right column, you can set conditions for the data to be visible by default in the report. For instance, if the Course Completion. Completed condition is set to Yes, it will only display users who have completed their courses.
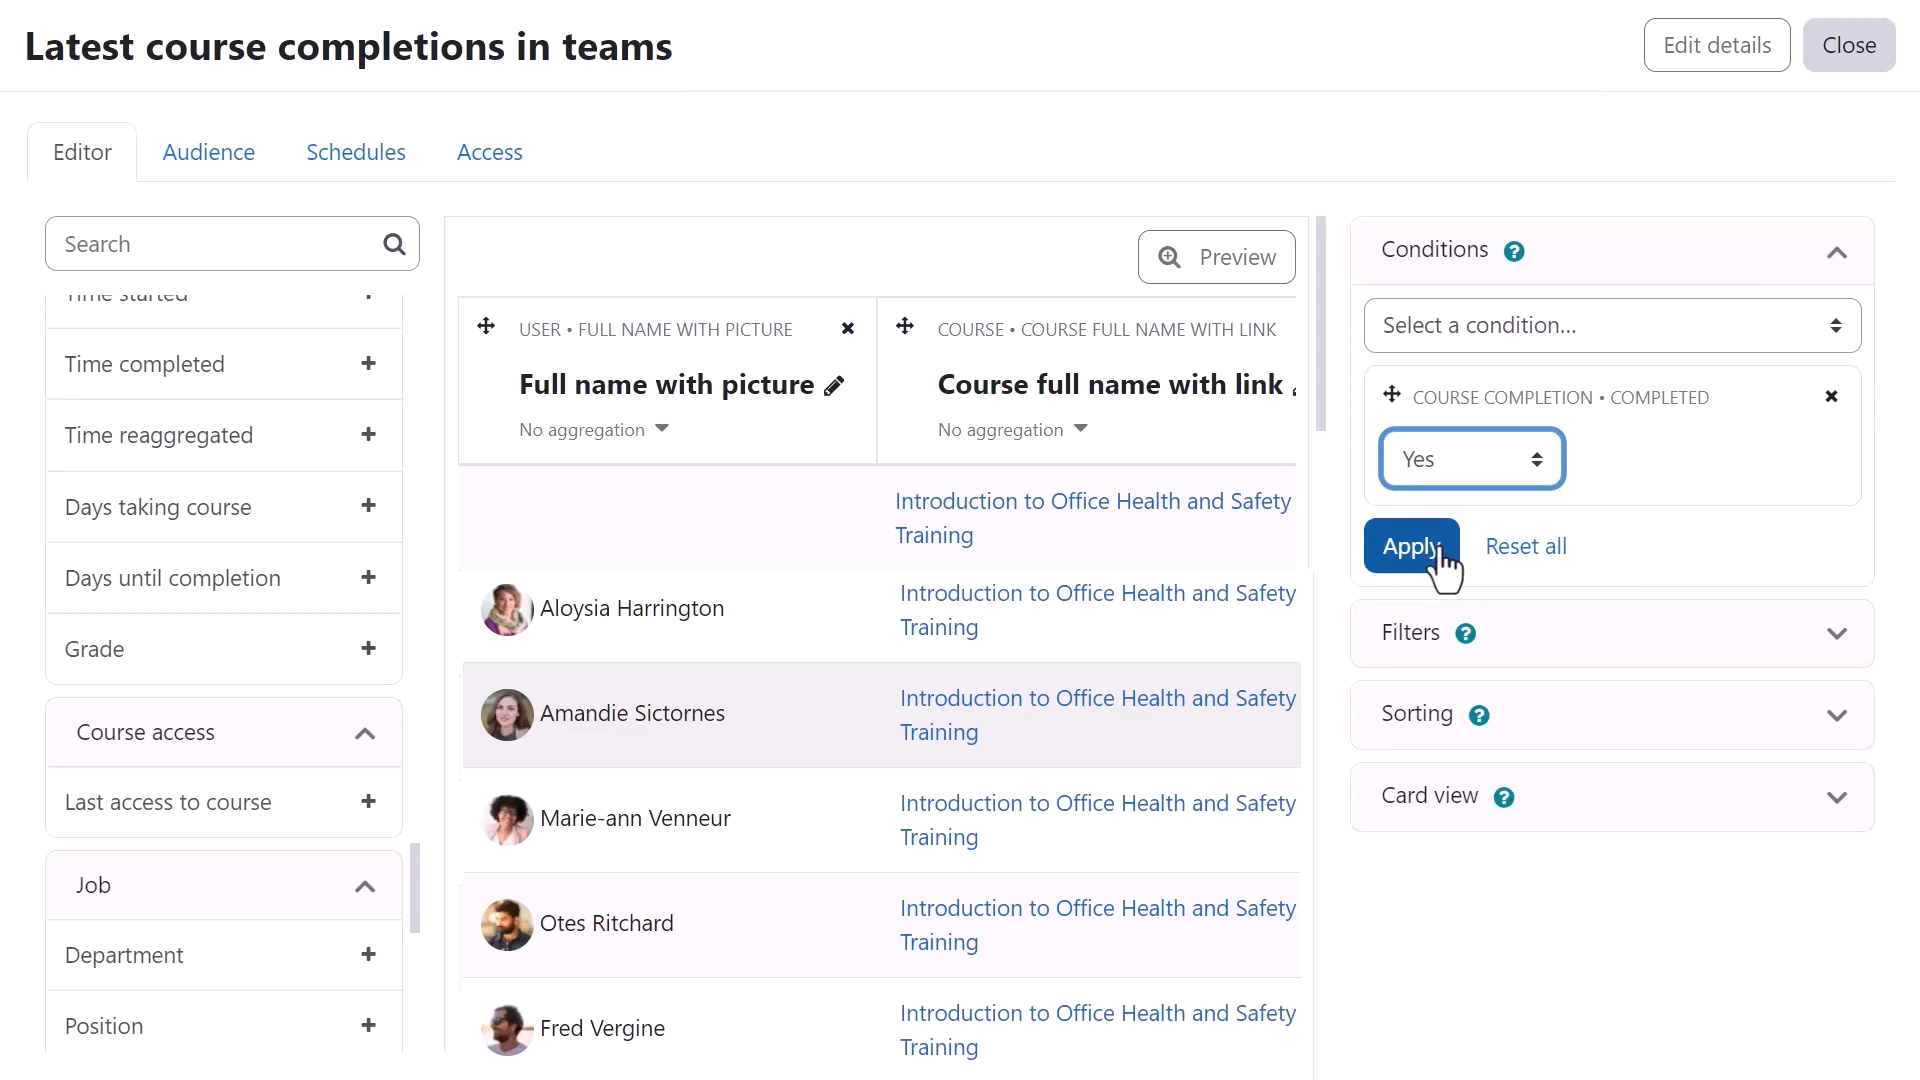
Similar to reports, Filters allow users to view data based on selected values selectively. If we choose a field, say, Full Name, these reports can be filtered by the full names of the entries.

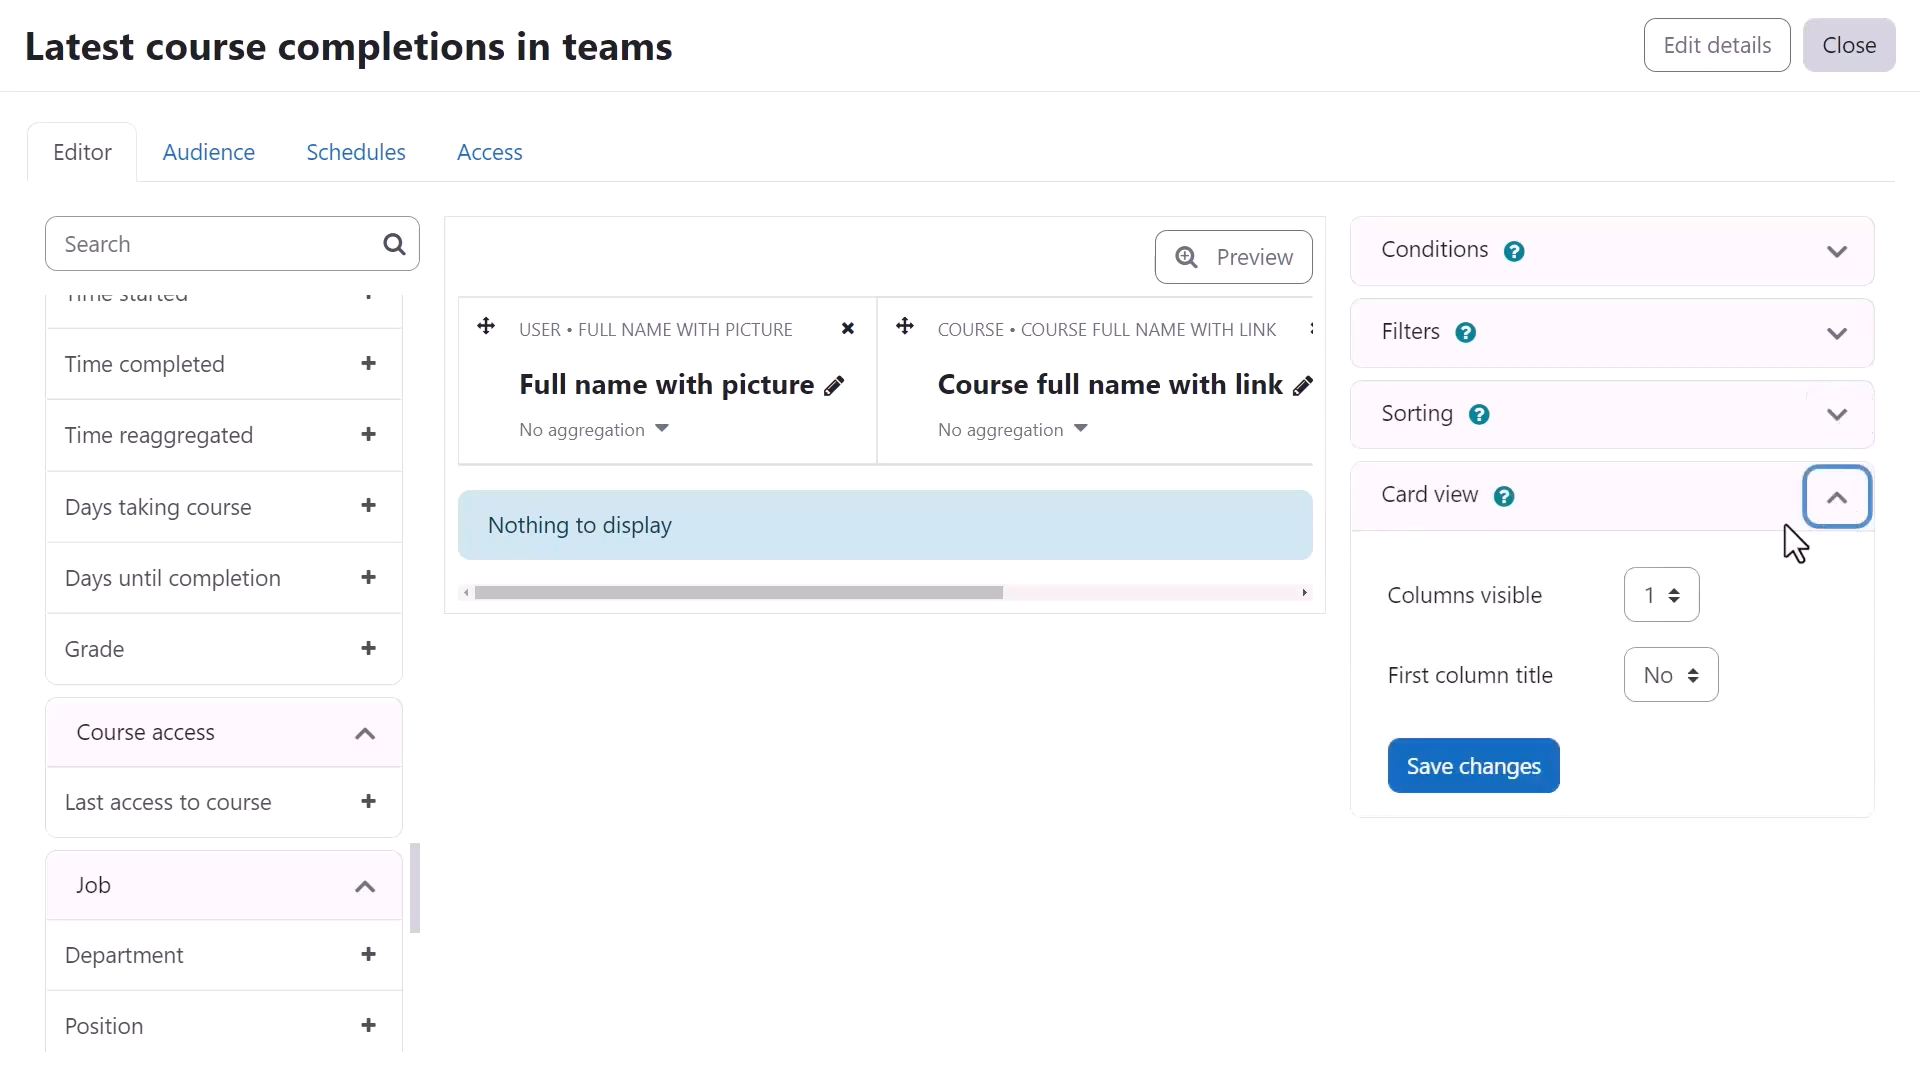
The Sorting option allows you to set the default sorting criteria for the report.

The Card view option allows you to define the layout of the report when viewed on smaller screen devices.
Adding users and scheduling reports
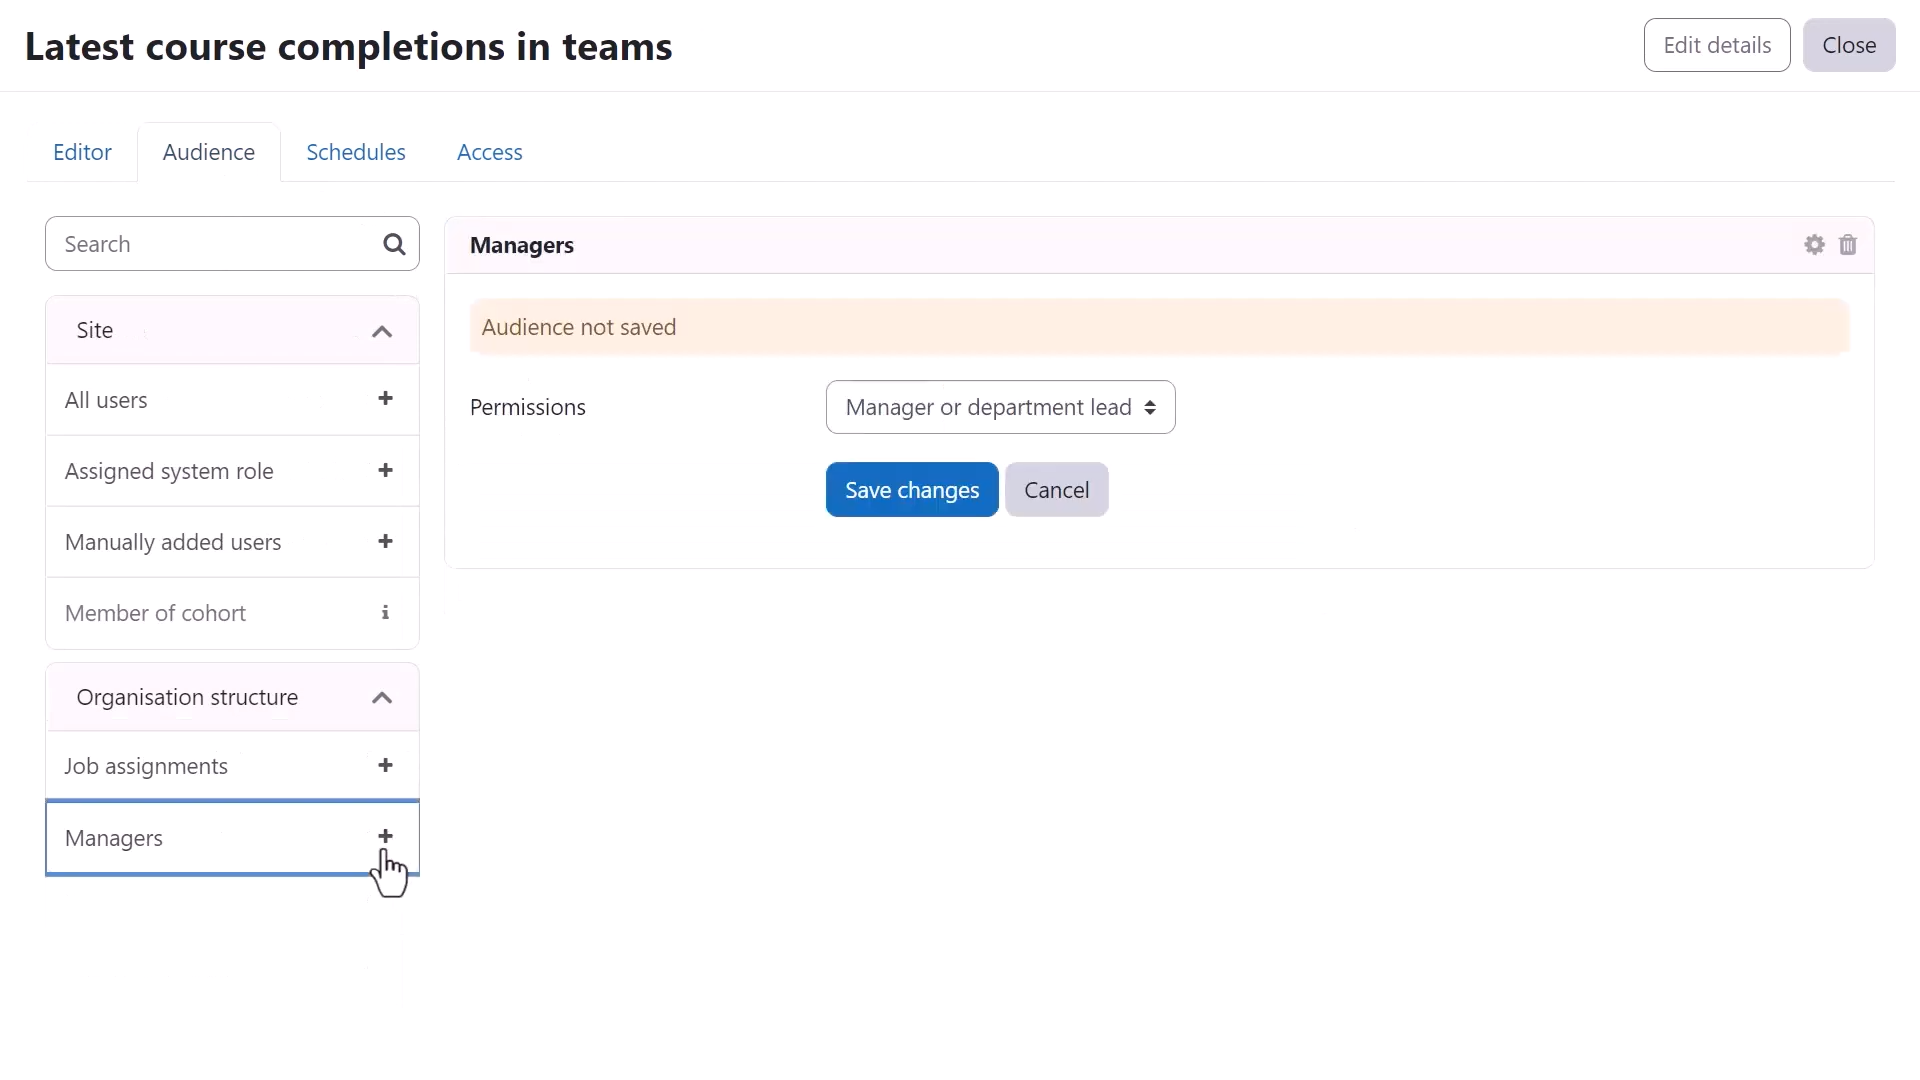
From the Audience tab, you can choose which members can view the report by clicking on the + sign next to the user category.
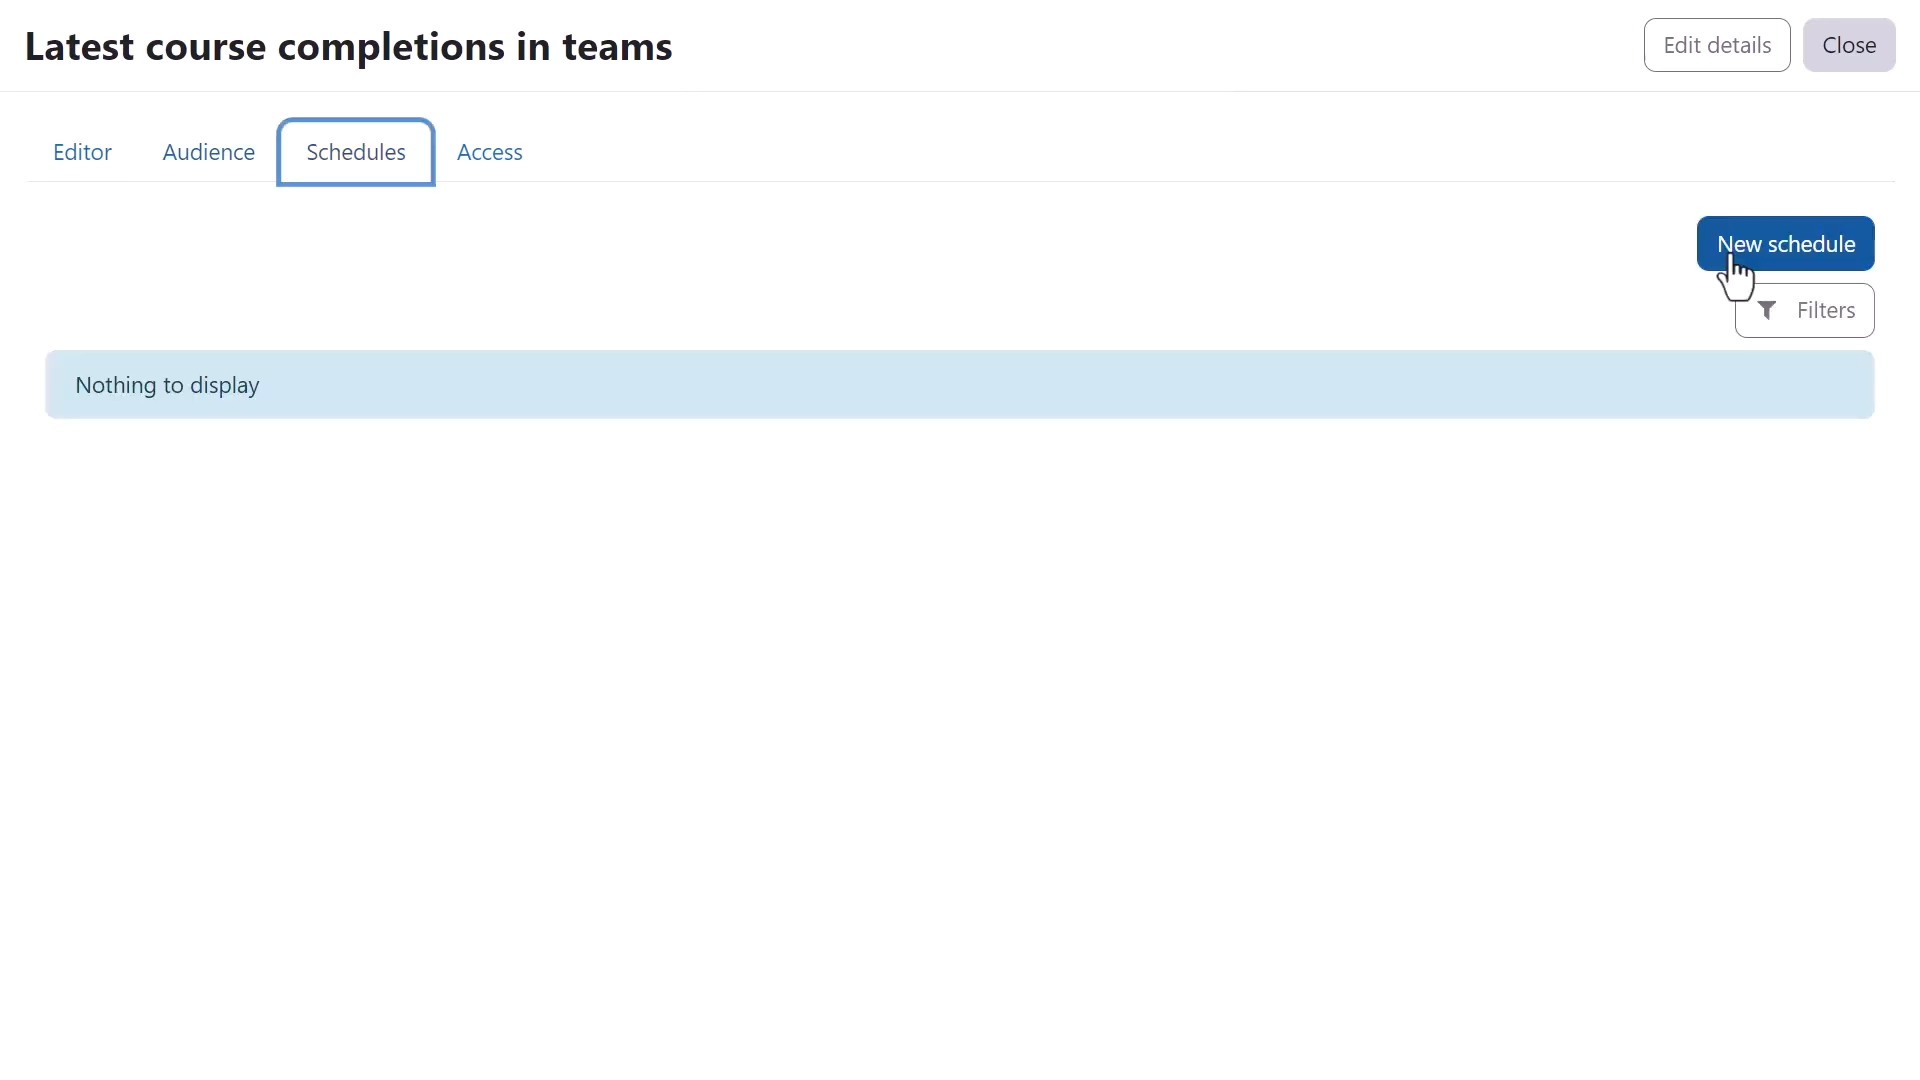
The reports can be sent out at specific intervals from the Schedule tab.
Click the ‘New schedule’ button on the top right-hand side to create a new release time.
Adding your report to the shared page
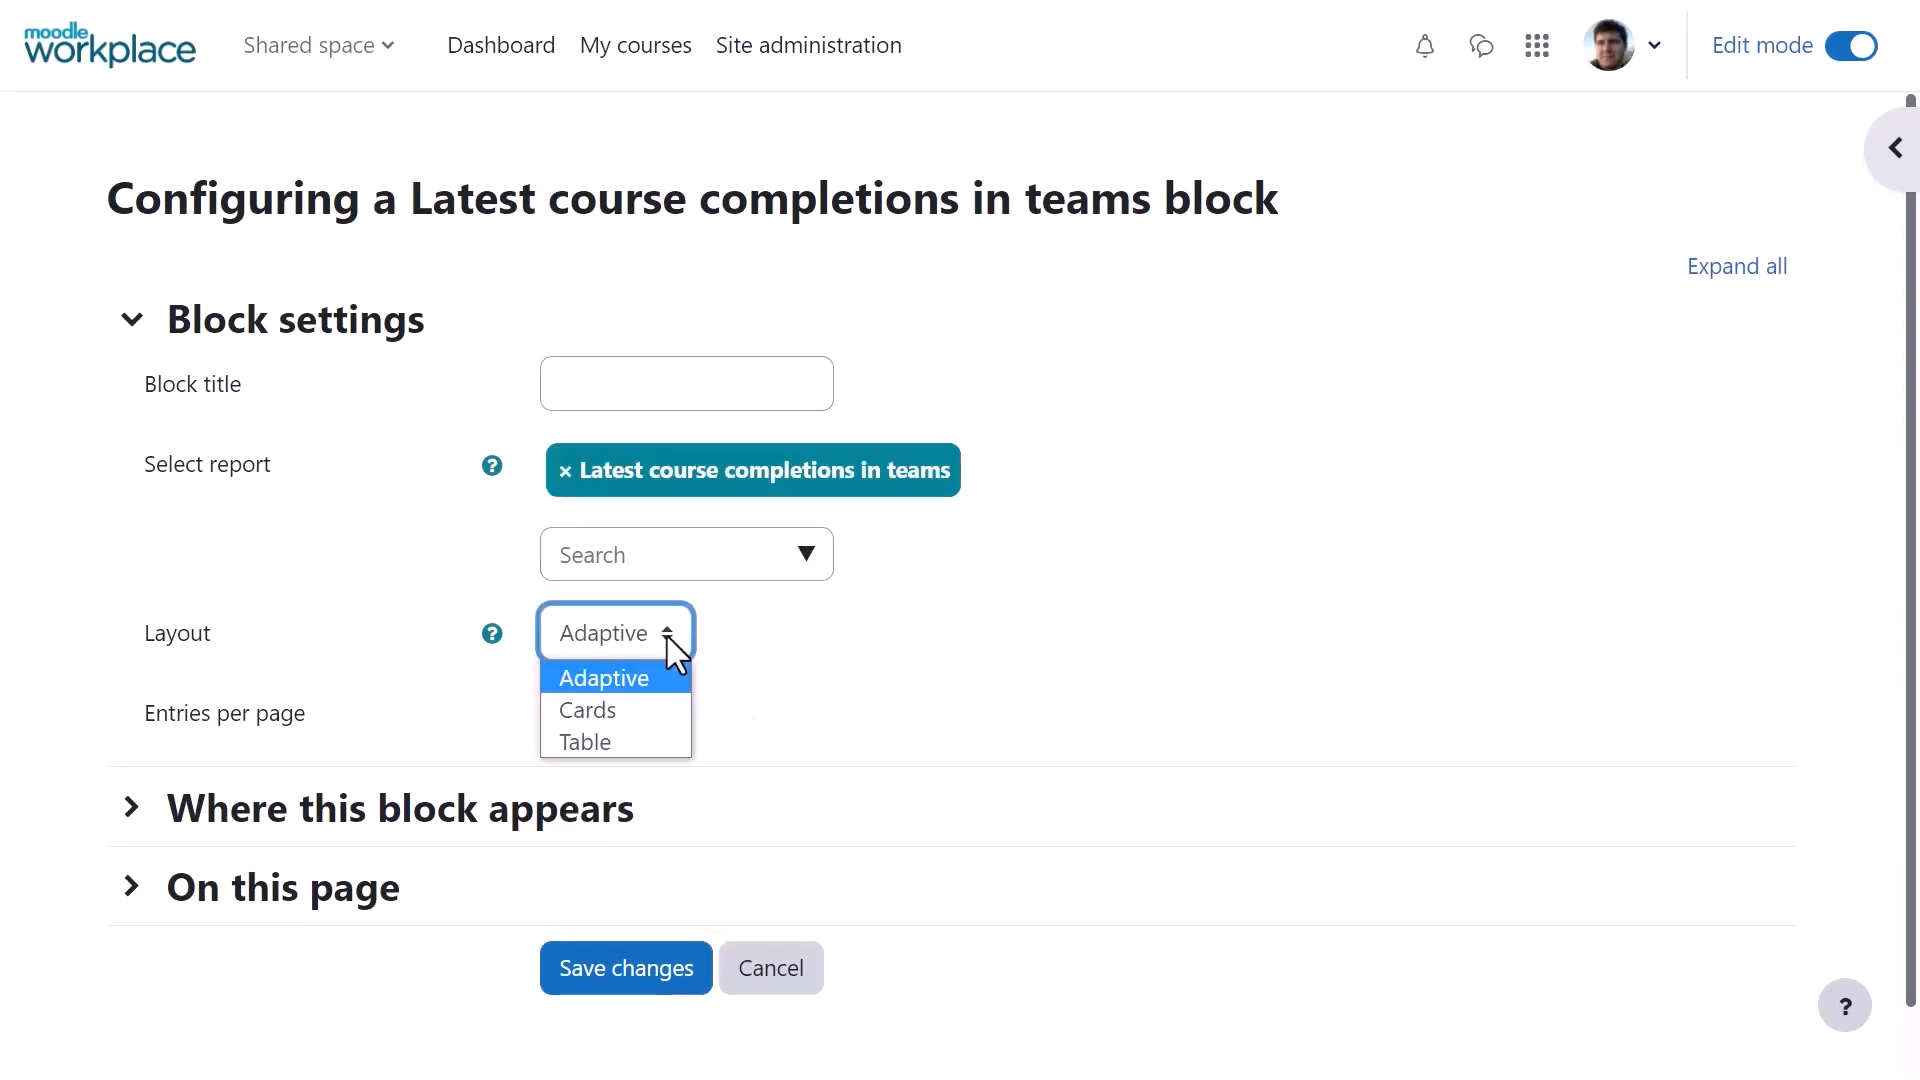
Add a new report block on the My Teams page and click the gear icon ⚙️ to configure it.

Select the report from the drop-down list and specify the layout. You can choose between Adaptive, Cards, or Table views. If the adaptive view is chosen, the workplace automatically decides the best layout between cards or tables when displaying the report.
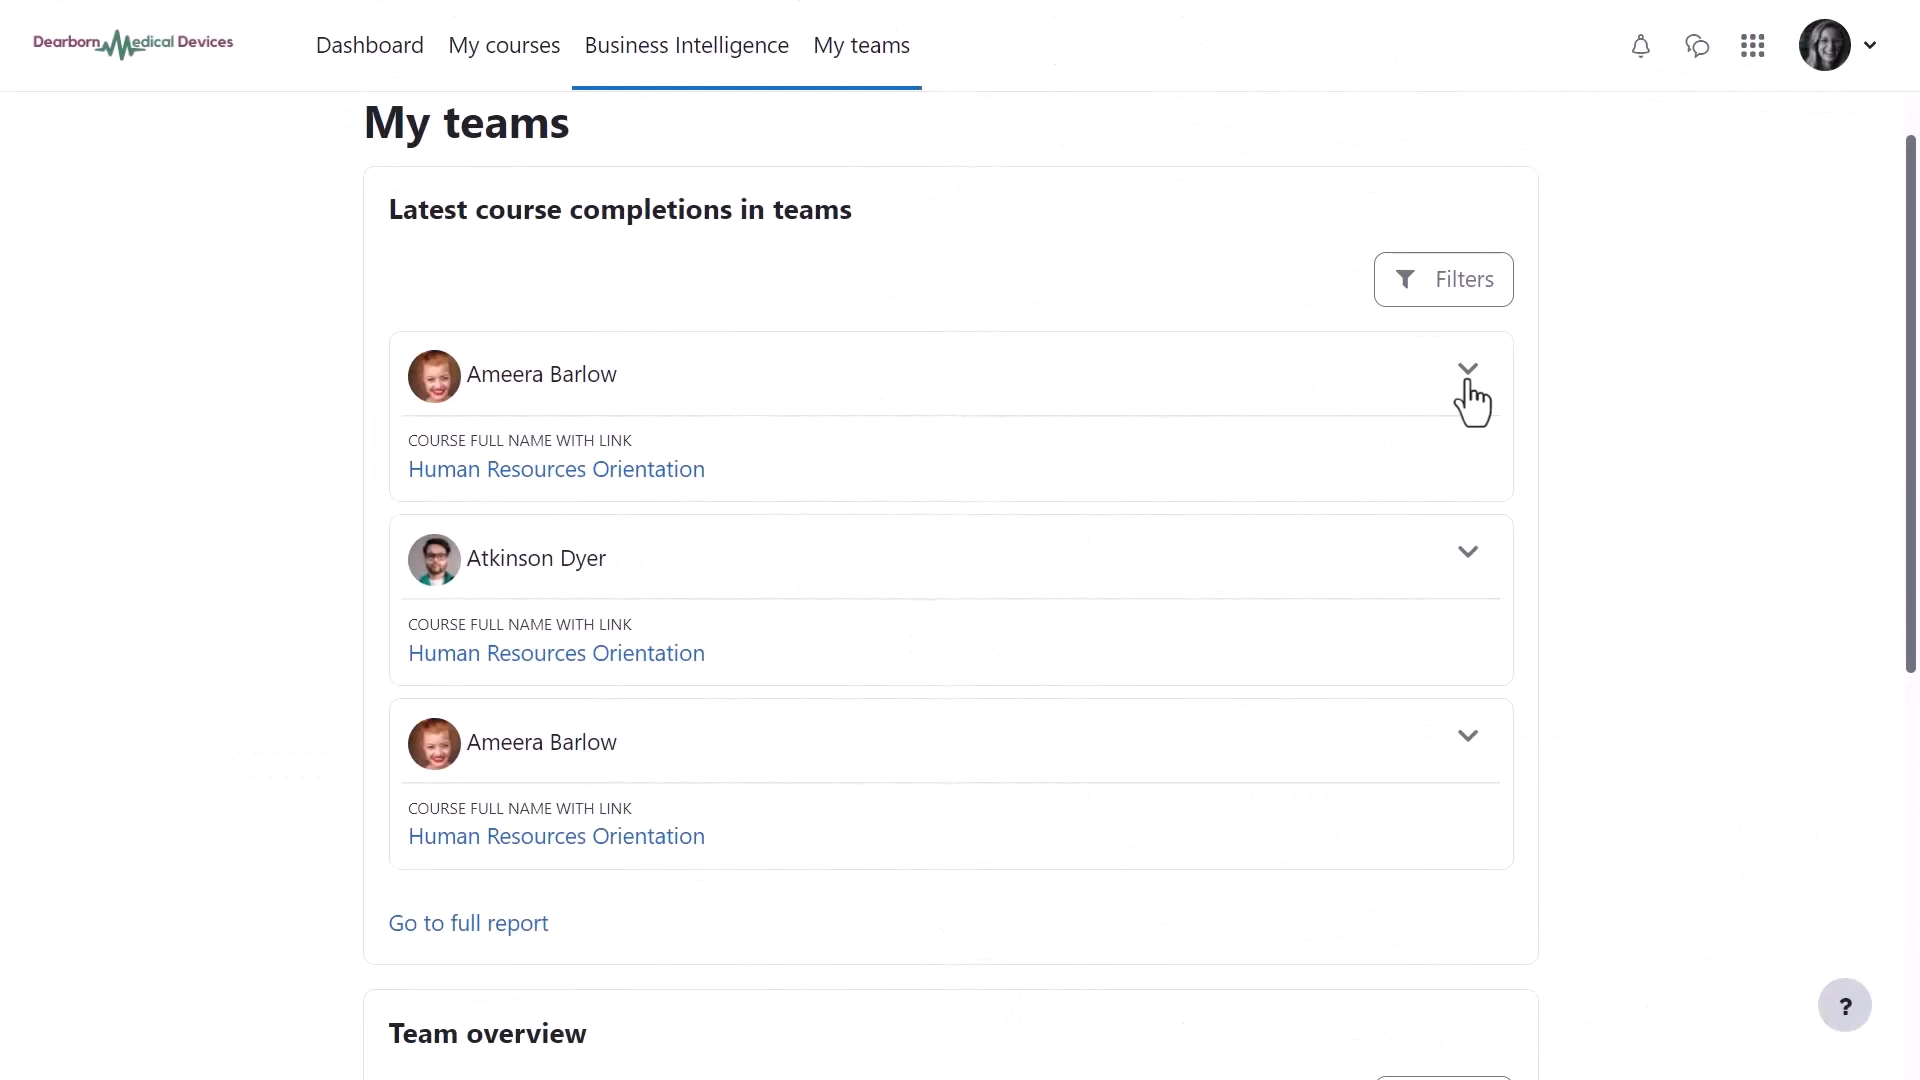
A tenant manager will see the following populated on their My Teams page. The report is in Cards layout.
The drop-down arrow expands the report card with a link to the full report page.
To summarise: custom reports in Moodle are effortless to set up and are highly customisable. If you would like to learn more about the process step by step, watch the video on Moodle Workplace 4 – Custom reports or read in the Moodle Workplace Documentation.


